How to Fly Cessna 172: From Preflight to Landing
Dec 23, 2025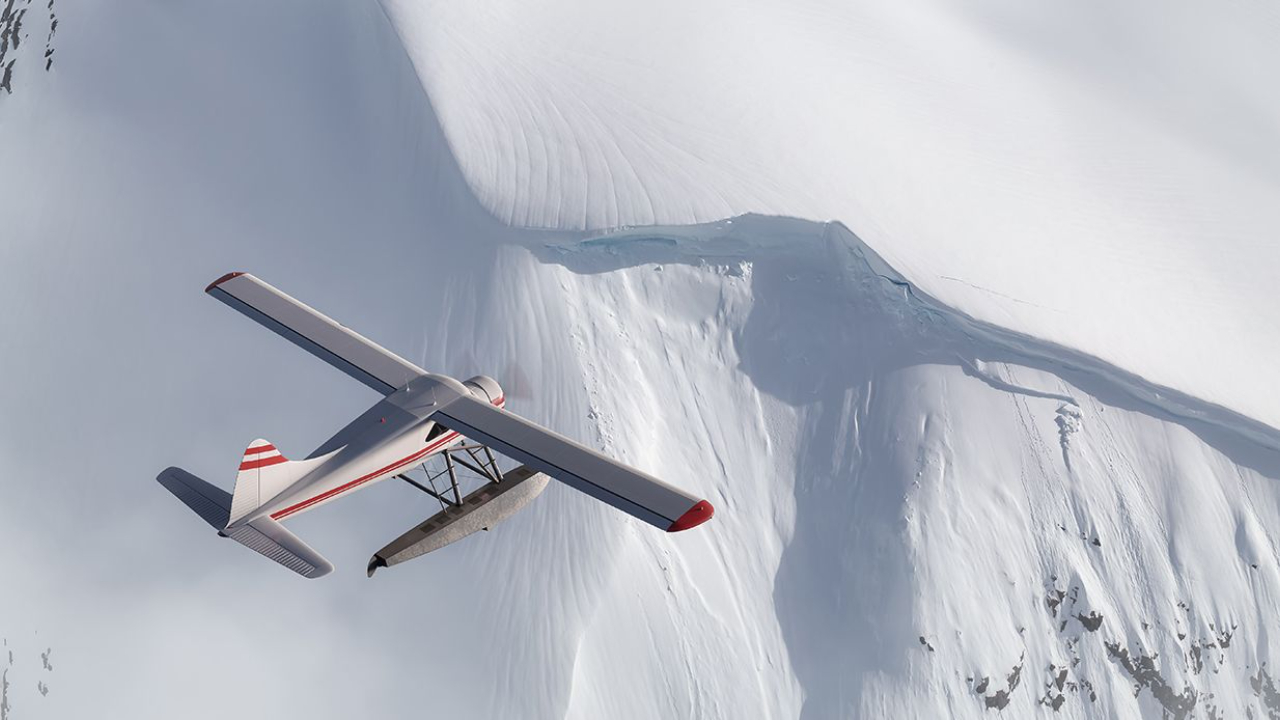
Ready to take to the skies? Learning how to fly a Cessna 172 is the perfect starting point for aspiring pilots and a great introduction to the aviation world, including operating a Cessna plane that has been trusted by flight schools around the world for decades thanks in part to its Cessna 172 safety record and continues to prove its value today just as it did years ago.
This step-by-step guide covers everything from preflight checks to smooth landings, helping you gain confidence in one of the world’s most popular training aircraft. Let’s get you flying!
Overview: What This Cessna 172 Flying Guide Covers
This is a practical, step-by-step guide to flying a Cessna 172 from preflight through landing, written for new student pilots in 2025 who are working toward becoming a private pilot.
Before we dive in, here’s the most important point: real-world flying must always be done with a certified flight instructor, and you should follow the POH (such as the Cessna 172S POH, rev. 2024) and local regulations published by the federal aviation administration, including FAA Part 61/91, for every flight you make.
Whether you’re preparing for your first flight lesson, getting ready for advanced requirements like night flight, or you simply want to understand what happens during flight training, this guide will walk you through the essential phases of operating the world’s most popular training aircraft. Consider this your roadmap to understanding how the pieces fit together.
What this guide covers
-
Preflight inspection and walk-around procedures
-
Cockpit setup, engine start, taxi, and run-up
-
Takeoff and initial climb techniques
-
Basic maneuvers during the cruise phase
-
Approach, landing, and go-around procedures
-
After-landing, taxi back, and shutdown
The procedures & numbers you'll see here RPM settings, airspeeds, power configurations are just rough estimates for a typical 172S with a 160-180 HP Lycombing engine. Chances are, your specific plane will be slightly different though - and that's why the POH always takes priority.
This article is meant to complement your flight training, not replace it think of it more like your trusty study buddy.
Re-read it before and after your lessons with your instructor to help solidify what you're picking up in the cockpit.
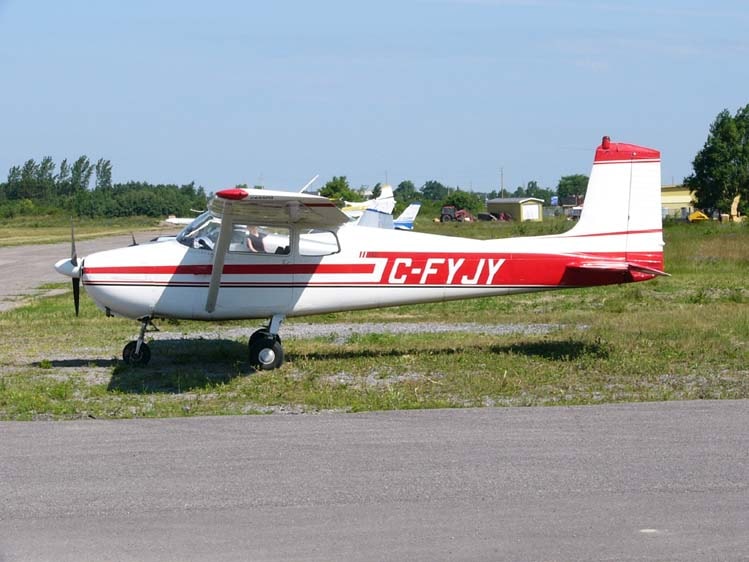
Know Your Cessna 172 and Training Requirements
You're likely to see 172R or 172S models at most flight schools nowadays those are the ones with fuel injected Lycombing engines and often Garmin G1000 glass cockpits.
Understanding why flight schools are drawn to this particular Cessna model can really help give your training some context.
The 172's got a lot going for it: it's easy to fly, gives you great visibility out of that high-wing design, and behaves pretty predictably across the board all that helps build confidence and makes for a smooth learning curve.
Key performance numbers you’ll reference throughout training
-
Rotation speed (VR): approximately 55 KIAS
-
Best rate of climb (Vy): 75–79 KIAS depending on weight
-
Normal final approach speed: approximately 65 KIAS with full flaps
-
Typical cruise power setting: 2100–2500 RPM depending on altitude and POH guidance
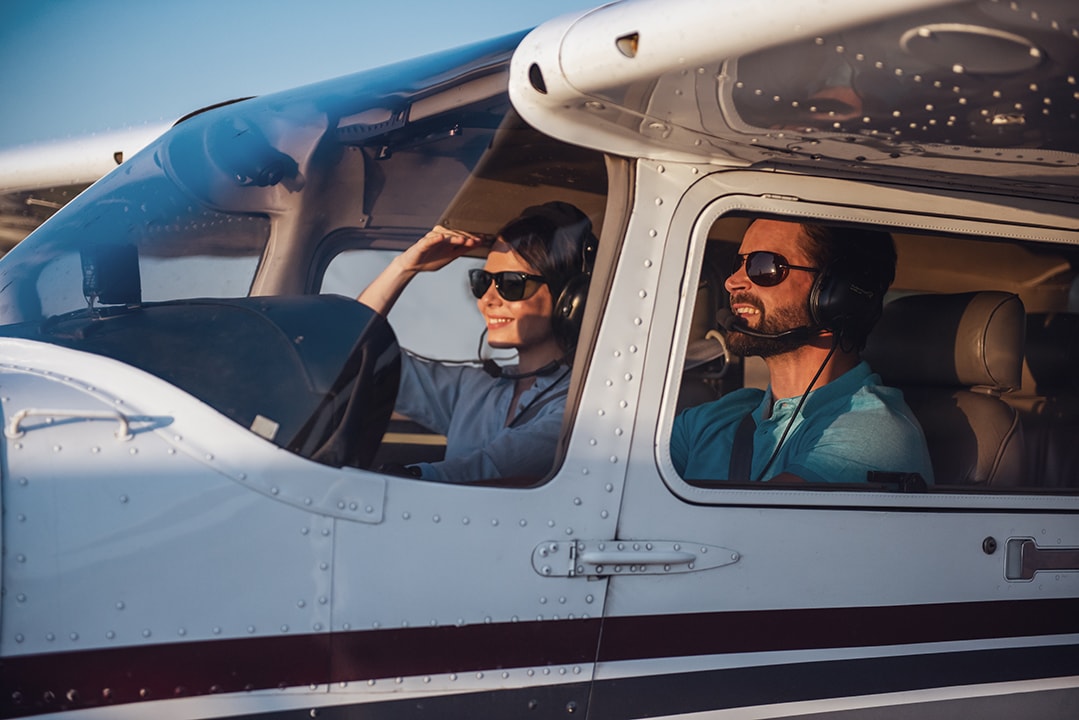
Your initial flights are going to be dual instruction flights, with a certified flight instructor in the right seat. You wont be touching the controls on your own until your instructor has signed your logbook with all the necessary solo flight endorsements for the specific Cessna 172 at your home airport before you can solo.
One thing a lot of new students are caught out by is the importance of using proper aviation English and radio call formats in the air.
That's going to involve learning the phonetic alphabet (aka Alpha, Bravo, Charlie and so on) along with the correct way to use it when you're communicating with air traffic control or making position reports on UNICOM radio frequencies. We'll come back to this later in this guide and give you some example radio calls to help you get the hang of it.
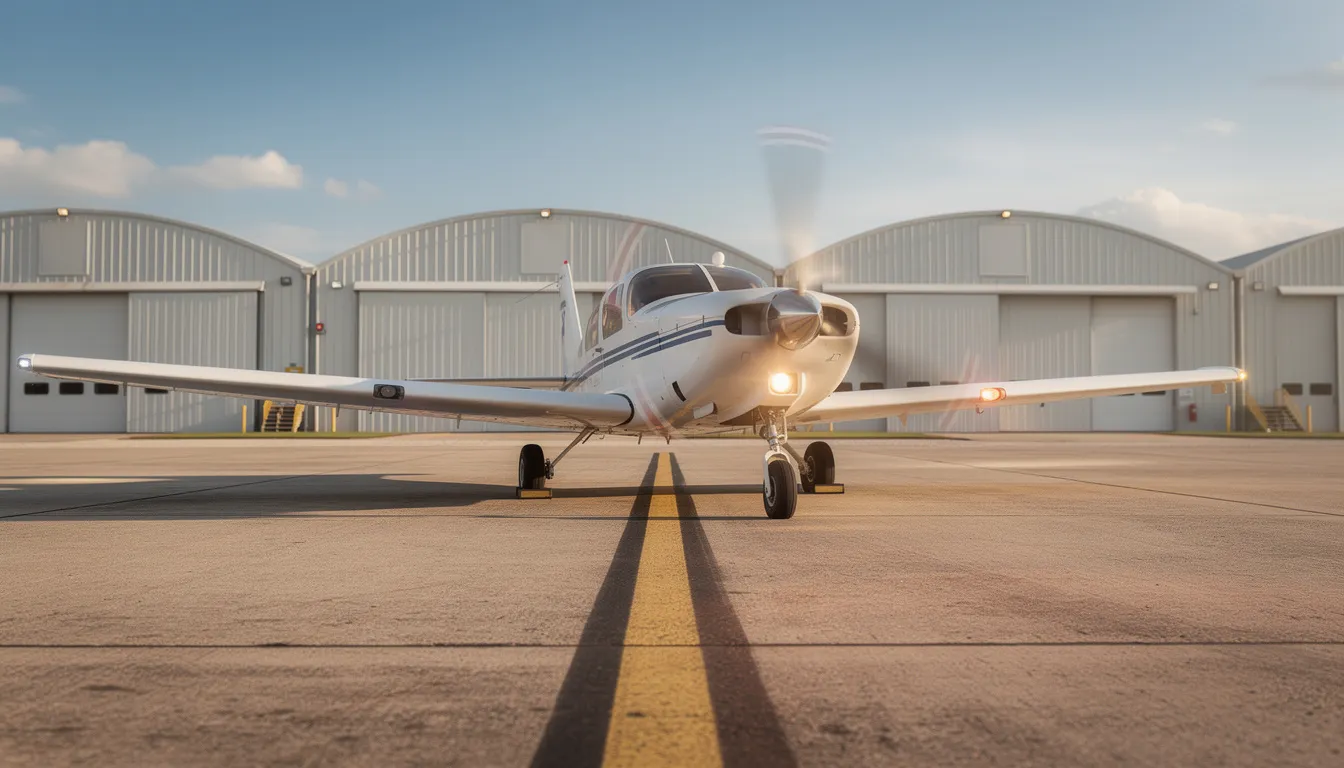
Preflight Planning and Walk-Around Inspection
Every flight in a Cessna 172 has to be properly planned out and preceded by a thorough walk-around using the aircraft's official POH checklist. Whether its a beautiful summer morning at Kapa or a pretty autumn day at your local airfield , the process does not change.
Flight planning essentials:
Before you ever touch the airplane, complete these tasks:
-
Check weather: Review METAR and TAF for your departure and destination airports. Note winds, visibility, cloud bases, and any convective activity.
-
Review NOTAMs: Check for runway closures, temporary flight restrictions (TFRs), and navigation aid outages.
-
Calculate fuel requirements: For VFR flight, ensure you have enough fuel to reach your destination plus 30–45 minutes reserve (the FAA requires 30 minutes for day VFR, 45 for night).
-
Compute takeoff and landing distances: Use the POH performance charts, accounting for pressure altitude, temperature, and runway conditions.
-
Complete weight and balance calculations: This is non-negotiable for every flight.
Sample weight and balance calculation (172S):
|
Item |
Weight (kg) |
Arm (mm) |
Moment |
|---|---|---|---|
|
Empty aircraft |
757 |
1018 |
770,726 |
|
Pilot (front left) |
80 |
940 |
75,200 |
|
Passenger (front right) |
75 |
940 |
70,500 |
|
Fuel (30 US gal / 114 L) |
82 |
1194 |
97,908 |
|
Baggage |
10 |
1727 |
17,270 |
|
Total |
1004 |
— |
1,031,604 |
Calculate CG: 1,031,604 ÷ 1004 = 1027 mm aft of datum
Verify this falls within the CG envelope from your POH. If it doesn’t, you must adjust loading before flight.
External walk-around sequence:
Start at the pilot’s door and move clockwise around the aircraft:
-
Cabin area: Remove control lock, check documents (airworthiness certificate, registration, POH, weight & balance), verify fuel selector position.
-
Left wing: Check fuel quantity with a calibrated dipstick (don’t trust gauges alone), secure fuel cap, sump fuel for water or contamination, inspect leading edge, check aileron and flap condition and movement.
-
Nose section: Inspect propeller and spinner for nicks and cracks, check engine cowling fasteners, verify air inlets are clear, examine nose gear strut extension and tire condition, check brake lines.
-
Right wing: Same checks as left wing: fuel quantity, cap security, sump drain, leading edge, aileron, flap.
-
Empennage: Inspect vertical stabilizer and rudder, check elevator and trim tab movement and security, verify static ports are unobstructed.
Critical inspection points:
-
Pitot tube cover must be removed (verify it’s not forgotten in the baggage area!)
-
All control surfaces move freely through full travel
-
No visible oil leaks, hydraulic fluid seepage, or structural damage
-
Tires show adequate tread and proper inflation
-
Antenna attachments are secure
Any defect or uncertainty means one thing: ground the aircraft and consult a mechanic or your CFI. Never pressure yourself into flying an aircraft that doesn’t meet standards.
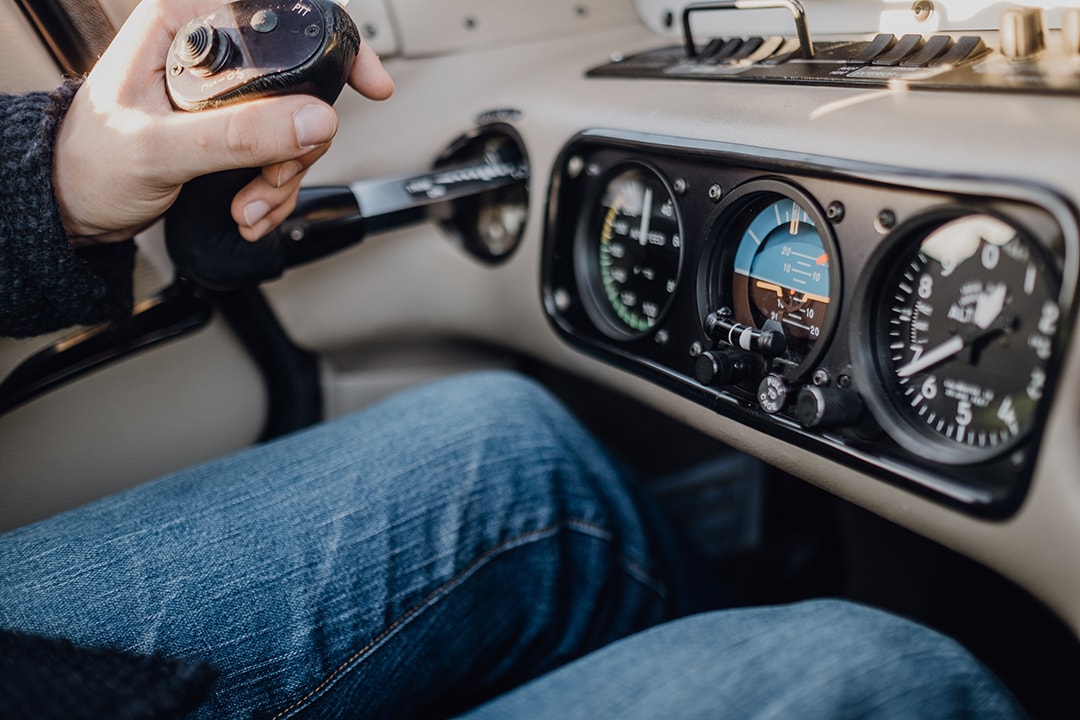
Cockpit Setup, Engine Start, Taxi, and Run-Up
Once the exterior preflight is complete, it’s time to move into the cockpit, configure systems, brief your departure, and prepare for engine start following the 172 checklist.
Initial cockpit setup
-
Set parking brake
-
Confirm control lock removed
-
Adjust seat position so you can apply full rudder deflection and see over the nose
-
Fasten seat belts and shoulder harness
-
Set fuel selector to BOTH (standard for most 172S operations)
-
Verify all circuit breakers are in
-
Avionics master switch OFF
-
Mixture to idle cut-off (full lean)
-
Throttle open approximately 1/4 inch
Engine start procedure
-
Turn master switch ON
-
Verify fuel quantity indicators show expected amounts
-
Turn on electric fuel pump briefly (for fuel-injected models) or use primer as directed by POH (typically 3–5 strokes on a cool day for carbureted models)
-
Clear the area visually and call out “CLEAR PROP” loudly
-
Engage starter until engine fires
-
Advance mixture to full rich as engine catches
-
Adjust throttle to approximately 1000 RPM, stabilizing engine speed for smooth idle operation
-
Check oil pressure rising to green arc within 30 seconds (60 seconds in cold weather)
After-start checks
-
Verify ammeter shows positive charge (alternator working)
-
Check suction gauge (if equipped) and annunciator panel
-
At high-elevation airports like KDEN, lean mixture slightly for ground operations
-
Set radios to appropriate frequencies
-
Set transponder to standby, squawk 1200 for US VFR operations
-
Set altimeter to current ATIS/AWOS pressure setting
Taxi procedures
-
Release parking brake
-
Apply slight power (1000–1200 RPM is usually sufficient)
-
Steer with rudder pedals; use differential toe brakes for tighter turns
-
Stay on the yellow taxiway centerline
-
Test brakes early in the taxi by applying them briefly to confirm response
-
Position flight controls appropriately for wind direction
Run-up at the hold short area
Find the designated run-up area near your departure runway (for example, holding short of RWY 28 at KSQL):
-
Set parking brake firmly
-
Advance throttle to approximately 1700 RPM
-
Check magnetos: select LEFT, note RPM drop, return to BOTH, select RIGHT, note drop
-
Maximum drop per POH (typically <150 RPM)
-
Maximum difference between mags (typically <50 RPM)
-
-
Check carburetor heat: apply, note slight RPM drop confirming system works, return to cold
-
Verify all engine gauges in green arcs
-
Complete control sweep: full deflection of ailerons, elevator, and rudder verify free and correct movement
-
Set elevator trim to takeoff position
-
Confirm heading indicator aligned with magnetic compass
-
Verify altimeter reads approximately field elevation
-
Complete pre-takeoff checklist
Takeoff and Initial Climb in a Cessna 172
This section guides you through a normal, no-wind, daytime takeoff from a paved runway at sea level. Variations like short-field and soft-field techniques require additional training with your CFI and fall outside the scope of this introductory guide.
Sample radio call before takeoff
“Palo Alto Tower, Cessna Seven-Three-Niner-Papa-Whiskey, holding short runway three-one, ready for departure, VFR to the south.”
Wait for clearance before entering the runway. At non-towered airports, announce your intentions on CTAF and verify the runway direction is clear before proceeding.
Takeoff roll
-
After receiving clearance, taxi onto the runway and align with the centerline
-
Smoothly advance throttle to full power
-
Keep heels on the floor don’t ride the brakes
-
Verify engine instruments in the green and airspeed indicator “alive” (showing increasing speed)
-
Apply light right rudder to counter left-turning tendencies from P-factor, torque, and slipstream effect
Rotation and liftoff
-
At approximately 55 KIAS, apply gentle back pressure on the yoke
-
The airplane will lift off naturally don’t force it
-
Establish a pitch attitude that maintains 75–79 KIAS (Vy for best rate of climb in most 172S models)
-
Keep wings level and maintain coordination with rudder inputs
Initial climb procedure
-
Confirm positive rate of climb on VSI and altimeter
-
If flaps were used for takeoff (e.g., 10° for short field), retract them incrementally once obstacles are cleared
-
Maintain climb speed while scanning engine instruments and outside for other aircraft
-
Continue runway heading or follow departure procedure as appropriate
Noise abatement and pattern departure
Many airports have specific departure procedures. A typical pattern departure involves:
-
Climbing straight out to 700–1000 feet AGL
-
Turning crosswind (90° from runway heading)
-
Continuing to pattern altitude, then turning downwind or departing the pattern
-
Contacting departure/approach control if required by local procedures
Always review the airport chart and any published noise abatement procedures before your flight.
Basic Climb, Cruise, and Descent Techniques
Once you’ve cleared the traffic pattern, you’ll transition from full-power climb to cruise configuration. The sequence to remember is: pitch, then power, then trim.
Climbing to practice altitude
Let’s say you’re climbing to 3500 feet MSL to reach a practice area near KOSH on a clear VFR day:
-
Maintain 75–79 KIAS climb speed
-
Monitor cylinder head temperature and oil temperature avoid prolonged climbs at very low airspeeds on hot days
-
As you gain altitude, the mixture may need gradual leaning per POH guidance to maintain smooth engine operation
Level-off procedure
-
Begin your level-off approximately 50–100 feet before reaching target altitude
-
Smoothly lower the nose to a cruise attitude
-
Allow airspeed to increase toward cruise speed
-
Reduce throttle to cruise power setting (typically 2300–2400 RPM)
-
Trim to remove control pressure you should be able to fly hands-off in smooth air
Typical cruise performance (172S at 3000–4500 feet)
|
Parameter |
Typical Value |
|---|---|
|
Power setting |
2300–2400 RPM |
|
Indicated airspeed |
100–110 KIAS |
|
Fuel burn (leaned) |
8–10 GPH |
|
Mixture |
Leaned to peak EGT minus 50°F |
Always verify actual values from your POH performance tables for the specific conditions.
Basic maneuvers using the six-pack
During the cruise phase, practice maintaining fundamental control skills that also prepare you for advanced training exercises such as slow flight:
-
Altitude: Reference altimeter and VSI; correct with small pitch changes
-
Heading: Reference heading indicator; make coordinated turns to correct drift
-
Coordination: Keep the ball centered with appropriate rudder pressure
For standard-rate turns (3° per second, completing 360° in two minutes), establish approximately 15–17° of bank angle while maintaining altitude with slight back pressure.
Descent planning
When it’s time to return to the airport:
-
Rule of thumb: Allow approximately 3 NM of distance for every 1000 feet of altitude to lose
-
Reduce throttle to approximately 1800–2000 RPM
-
Establish a descent rate of 500–700 feet per minute
-
Gradually enrich mixture as you descend to lower altitudes
-
Maintain cruise speed or slow to approach speed as you near the pattern
Approach, Landing, and Go-Around in the Cessna 172
Landing is often the most challenging phase for new pilots, and that’s completely normal. Most of your first 20–30 hours of flying time will be spent practicing traffic patterns, approaches, and flares at your home airport, especially refining the landing pattern Cessna 172 that forms the foundation of safe, repeatable arrivals. This repetition builds the muscle memory and judgment that experienced pilots rely on.
Joining the traffic pattern
-
Enter on a 45° angle to the downwind leg at pattern altitude (typically 1000 feet AGL)
-
Position the aircraft parallel to the runway, offset to the side
-
Use the altimeter and outside visual references to maintain pattern altitude
-
Make position calls on CTAF or to tower as appropriate
Sample pattern radio call
“Reid-Hillview traffic, Cessna Seven-Three-Niner-Papa-Whiskey, midfield left downwind runway three-one right, Reid-Hillview.”
Downwind leg configuration
-
Reduce power to approximately 1900–2000 RPM
-
Maintain approximately 90 KIAS
-
When abeam your intended touchdown point, apply first notch of flaps (10°)
-
Begin descent, slowing to approximately 80 KIAS
Base leg
-
Turn base when the runway threshold is approximately 45° behind your wing
-
Add flaps to 20°
-
Adjust power to maintain 70–75 KIAS
-
Keep the ball centered
-
Use PAPI or VASI lights if available to judge glide path (two red, two white = on glide path)
Final approach
-
Turn to align with runway centerline
-
Set final flaps (typically 30°)
-
Establish approximately 65 KIAS indicated
-
Use small power and pitch corrections to maintain a constant glide path, a skill that directly translates to more advanced procedures like the instrument landing system
-
Aim for a point just before your intended touchdown spot
The flare technique
As you cross the threshold at approximately 10–20 feet:
-
Smoothly reduce power toward idle
-
Shift your visual focus to the far end of the runway
-
Gradually raise the nose, increasing back pressure on the yoke
-
The goal is to keep the main wheels just inches above the runway surface while the aircraft decelerates
-
The airplane will settle onto the main wheels in a nose-high attitude
-
Hold the nose off as long as possible, letting it lower gently as elevator authority diminishes
Common student errors and corrections
|
Error |
Correction |
|---|---|
|
Arriving too fast |
Start slowing earlier on downwind; verify power reduction |
|
Flaring too high |
Keep looking at the far end of runway; be patient |
|
Flaring too late |
Begin round-out earlier; practice at altitude with your CFI |
|
Over-controlling pitch |
Use small, smooth inputs; avoid “chasing” the attitude |
|
Ballooning (climbing during flare) |
Relax back pressure; if excessive, go around |
The go-around decision
If your approach becomes unstable too high, too low, too fast, or misaligned execute an immediate go-around:
-
Apply full power smoothly
-
Carb heat to cold (if equipped)
-
Pitch for climb attitude (Vx or Vy as briefed)
-
Retract flaps incrementally (30° → 20° → 10° → 0°) as you accelerate
-
Announce your go-around on the radio
There is no shame in a go-around. It’s one of the safest decisions you can make and demonstrates good pilot judgment.
Consistent pattern practice including simulated engine-out approaches and go-arounds is the key to building confidence in the Cessna 172. How much fun is it when everything comes together? That’s the moment every student pilot works toward.
After-Landing, Taxi Back, and Shutdown
Professionalism doesn’t end at touchdown. Proper after-landing and shutdown procedures protect the engine and airframe, setting up the next flight for success.
Clearing the runway
-
Maintain directional control during rollout using rudder
-
Apply brakes gently as needed avoid hard braking
-
Exit at the first safe taxiway
-
Cross completely past the hold short line before stopping
-
Complete your “clear of runway” radio call
“Palo Alto Tower, Cessna Seven-Three-Niner-Papa-Whiskey, clear of three-one.”
After-landing tasks
-
Retract flaps to 0°
-
Carb heat off (if used)
-
Landing lights and taxi lights off if no longer needed
-
Transponder to ALT or standby per local procedure
-
Reset trim to takeoff/neutral position
Taxiing to parking
-
Follow ground control instructions at towered airports
-
Keep power low avoid high RPM on the ground near people and other aircraft
-
Stay on taxiway centerline
-
Watch for other traffic, ground vehicles, and obstacles
Engine shutdown sequence
-
Position aircraft into the wind if possible
-
Set parking brake
-
Reduce throttle to 1000 RPM for brief cool-down period
-
Turn avionics master OFF
-
Pull mixture to idle cut-off engine stops
-
Magnetos OFF
-
Master switch OFF
-
Install control lock
Securing the aircraft
-
Verify parking brake is set or install wheel chocks
-
Install tie-down ropes or chains on wings and tail ring if parking outside
-
Install pitot cover
-
Lock doors and baggage compartment
-
Complete post-flight walk-around, noting any squawks (maintenance issues) in the aircraft logbook
This systematic approach ensures the airplane is ready for its next flight and helps maintain the high reliability that makes the Cessna 172 such a trusted training platform.
