IFR Training: How to Earn and Use Your Instrument Rating
Sep 18, 2026
IFR training is your gateway to flying confidently through clouds and low visibility. Whether you're a private pilot tired of weather delays or aiming to boost your skills, mastering instrument flight rules opens new horizons. Discover how IFR training transforms your flying, enhances safety, and expands your flight options in any weather.
What Is IFR Training and Why It Matters
Instrument flight rules govern how pilots fly when visual references like the horizon, landmarks, and the ground are obscured. Under visual flight rules, you need clear skies and good visibility to legally fly. Under IFR, you fly by reference to your instruments while air traffic control provides separation, routing, and approach clearances. Consider this: half of all flight lessons are canceled due to weather. An instrument rating dramatically cuts that number for you.
IFR training follows private pilot training and leads to the instrument rating under 14 CFR § 61.65. Once earned, the rating allows you to:
-
Depart and arrive through cloud layers that would ground a VFR pilot
-
File and fly IFR routes across the country in marginal weather conditions
-
Receive ATC guidance and instrument approach clearances into airports with low ceilings
-
Reduce weather-related delays and cancellations on cross country flights
-
Make safer decisions when conditions deteriorate mid-route
IFR training allows pilots to navigate through clouds and low-visibility conditions, and it improves decision-making and cockpit management abilities under pressure. The instrument rating effectively allows flying in any weather conditions that the aircraft and its equipment can handle.
IFR vs. VFR: How Instrument Flying Changes Your World
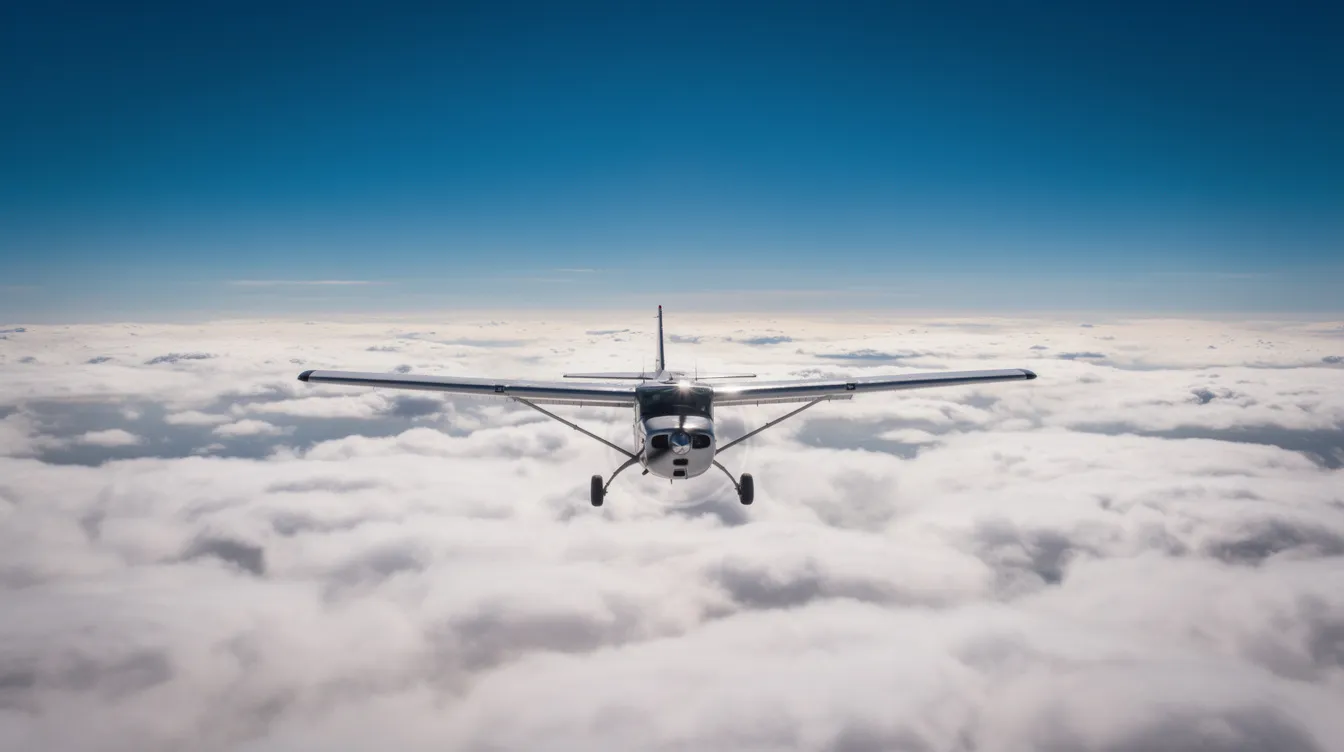
Imagine planning a trip from Chicago to Albany and the forecast is calling for some pretty nasty clouds at 1,200 feet right along the route you're gonna take. A VFR pilot's probably gonna have to scratch the flight plan at this point but an IFR pilot will file a flight plan, get clearance, punch through that cloud layer and cruise smoothly above it.
Here are some key differences between the world of VFR and IFR
-
Down in controlled airspace under VFR you need at least 3 miles visibility to play and you got to keep clear of clouds by a good thousand feet up, five hundred feet down, and a couple thousand feet out to the sides
-
Try flying a Cessna into a cloud bank, VFR - it's a big no-no and one of the things that kills a lot of GA flyers every year
-
When you fly IFR you're essentially relying on ATC to point you in the right direction - they assign your altitude, your route and your vectors and you just follow along with the instrument approach procedures to bring you down, even when you can't see the runway until that last little bit
-
And that's where having an instrument rating really pays off - you're way more capable of keeping control of the plane if something unexpected pops up - like you hit a surprise cloud layer in the dark, or just hit some bad vis on a cross-country flight
Instrument Rating Requirements and Eligibility
The instrument rating requirements below reflect current FAA rules under 14 CFR § 61.65 for the airplane single-engine category. Regulations require pilots to have specific aeronautical knowledge before obtaining an instrument rating.
Prerequisites:
-
Hold at least a private pilot certificate (or be applying concurrently)
-
Demonstrate English language proficiency
-
Hold a current medical certificate or BasicMed qualification
Aeronautical experience minimums:
-
50 hours of cross country flight time as pilot in command, with at least 10 hours in airplanes
-
Pilots must log at least 40 hours of actual or simulated instrument time for IFR certification, of which at least 15 hours must be with an authorized instrument instructor (CFII)
-
One instrument cross country flight of at least 250 nautical miles, utilizing airways or ATC-directed routing, with an instrument approach at each airport and at least three different kinds of approaches
Ground training and testing:
-
Ground training covering IFR regulations, weather theory, ATC clearances, instrument approach procedures, enroute charts, and aeronautical decision making
-
Instrument training requires at least 35 flight hours and 30 theory hours under a Part 141 course structure
-
Pilots must pass both a knowledge test (the written exam) and a practical test (checkride) to receive an instrument rating
Types of Instrument Training Programs
Pilots have a number of ways they can go about getting their instrument rating, and the one that's best for you will depend on how much time you've got to devote to flying, how much you're willing to spend and what kind of learner you are.
-
A Part 141 Instrument Rating Course these are the most structured of the bunch. They follow an FAA-approved syllabus and have a pretty rigid schedule you can expect to need about 35 hours of dual flight instruction and 30 hours of ground school, with simulator sessions thrown in here and there. The upside of this approach is that it's pretty efficient but it doesn't leave much room for flexibility.
-
Part 61 Training on the other hand gives you a lot of freedom. You work with a local certified flight instructor who can teach you in your own plane at your home airport, and you can work at your own pace. The downside is that it can be a lot harder to stay on track weather delays and getting the instructor together can add a lot of time to the process, and you may end up shelling out more cash in the long run because you don't have the structure to keep things moving.
-
Accelerated Instrument Training programs are a different beast altogether. They pack all the training into a whopping 6 to 12 days of intensive flying and studying. To take part you'll need to have already passed your knowledge exam, and you'll probably need to have some pretty good study habits lined up too. The good news is that the whole thing is over with pretty quickly, and you'll save a pretty penny on travel and accommodation costs compared to spreading things out over a few months.
In the end its the program you'll stick with that's the best one. So pick the format that fits with your lifestyle, your budget and the way you like to learn.
What You’ll Learn in IFR Training: Skills and Course Stages
IFR training builds the precision, judgment, and workload management needed to fly by reference to instruments. Although individual syllabi differ, the learning progression can be organized into three stages: aircraft control, navigation and approaches, and complete IFR flights. Ground lessons, simulator sessions, and aircraft training reinforce one another throughout the course.
Stage 1: Basic Attitude Instrument Flying
First things first, you're going to start by learning how to use the instrument panel to control the aircraft rather than relying on what you can see outside. Lessons will help you develop a good instrument scan, learn to interpret what you're seeing and how to make smooth control inputs in all sorts of situations from level flight to climbs, descents and turns. You'll also be practicing unusual attitude recovery and partial panel flying, which means learning to spot when something's not working right and still manage to keep the aircraft flying.
And yes, whether you're using traditional gauges or a high-tech glass cockpit, the goal here is the same: to fly the plane without relying on any misleading physical sensations.
Stage 2: Navigation, Holding, and Instrument Approaches
Next up, you're going to learn how to use VORs, GPS and DME to track your route and navigate your way to the destination. That means practicing how to copy clearances, respond with accurate readbacks, use standard phraseology, and change frequencies when you need to. And then there are the approaches ILS, RNAV (GPS), localizer and VOR approaches, depending on what's available at the airport you're heading to.
You'll learn how to brief on approach charts, read minimums, manage step-down fixes, execute missed approaches and take into account circling considerations. And just to keep things interesting, your instructor will throw in some scenarios where navigation equipment fails or you lose contact with air traffic control that way you can practice keeping your cool and making the right decision.
Stage 3: Cross-Country Planning and Checkride Preparation
In the final stage, you'll be combining all the skills you've learned so far to put together full IFR flights. That means studying the weather reports and forecasts, picking out the best route and altitude, identifying your alternates, working out how much fuel to plan for, and then getting clearances. Cross-country lessons will also cover diversions, reroutes, and how to think on your feet if the weather suddenly changes.
To wrap everything up, you'll have a stage check (or mock checkride) to make sure you meet the Instrument Rating Airman Certification Standards and if there's anything you're still struggling with, your instructor will identify the weak spots and give you some targeted practice to help you get up to speed. It's not about just putting in a certain amount of time it's about consistently showing that you can handle the task at hand and make solid decisions in the cockpit.
Ground Training, Simulators, and Home Study
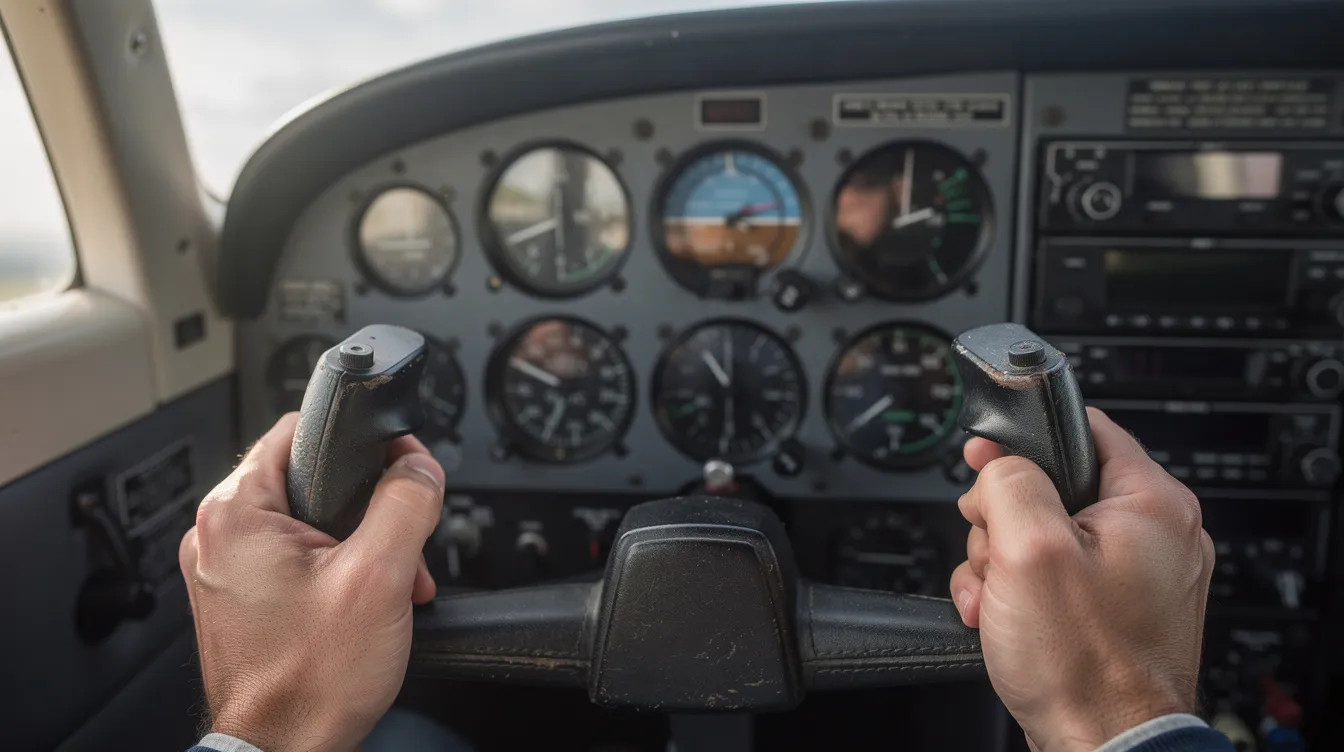
Successful IFR pilots invest heavily in ground training and home study, not only in flight lessons. The knowledge side of instrument flying is what separates confident IFR pilot performance from mere stick-and-rudder ability.
-
Typical ground training topics include reading IFR enroute charts, interpreting approach plates and SID/STARs, understanding ATC phraseology, analyzing METARs and TAFs, and applying decision-making frameworks. Instrument training teaches pilots to recognize weather patterns and ask better questions about weather phenomena.
-
An FAA approved flight simulator plays a critical role. Aviation training devices such as AATDs can provide up to 20 hours toward your 40-hour instrument time requirement, while BATDs allow up to 10 hours. These devices let you practice instrument approach procedures safely, repeatedly, and at lower cost than airplane time.
-
At-home tools like Microsoft Flight Simulator and X-Plane help you rehearse procedures, but time in non-certified simulators does not count toward FAA requirements. They are still valuable for chair flying approaches, learning avionics flows, and building familiarity with navigation equipment.
-
Structure your study with an instrument rating course book, a video-based ground school, and practice exams for the FAA knowledge test. Use our practice IFR test guide to plan your exam preparation and review mistakes effectively. Set a scheduled study routine-three to four sessions per week-and your ground knowledge will keep pace with your flight training.
Managing the Difficulty: Workload, Mindset, and Motivation
The instrument rating course is arguably the toughest part of your pilot training lots of pilots find it mentally draining, and you shouldn't feel any different.
-
The real challenge is called task overload: trying to juggle flying a steady course and height while explaining an instrument approach to a passenger, jotting down a new frequency from air traffic control, fiddling with your avionics, and worrying about fuel all at the same time, it's a lot to take in. During IFR training you're going to be juggling lots of different things, and it can feel like a real steep learning curve.
-
Things that actually work: spending time practicing approaches on the ground with a simulator (go through each step of the approach in your head), being super diligent about using your checklists and sticking to your routine in the cockpit, breaking long procedures down into smaller more manageable chunks, and using a flight simulator to run through tough approachs before you try to do them in the real plane.
-
Keep your enthusiasm for flying alive. Mix it up a bit by going on some fun VFR flights with friends to remind yourself why you got into aviation in the first place. Set some realistic goals for yourself - one flight lesson a week, two sessions of ground school and celebrate when you hit a big milestone like flying in the clouds for the first time, or successfully landing on an Instrument Landing System.
-
Pick an instructor who's got your back. A patient instructor who doesn't just tell you how to do something but explains why it matters how it helps keep you safe, how it keeps you separated from other planes will help you start to think like a confident instrument rated pilot rather than just memorizing a list of rules to follow.
Glass Cockpit vs. Analog Gauges in Instrument Training
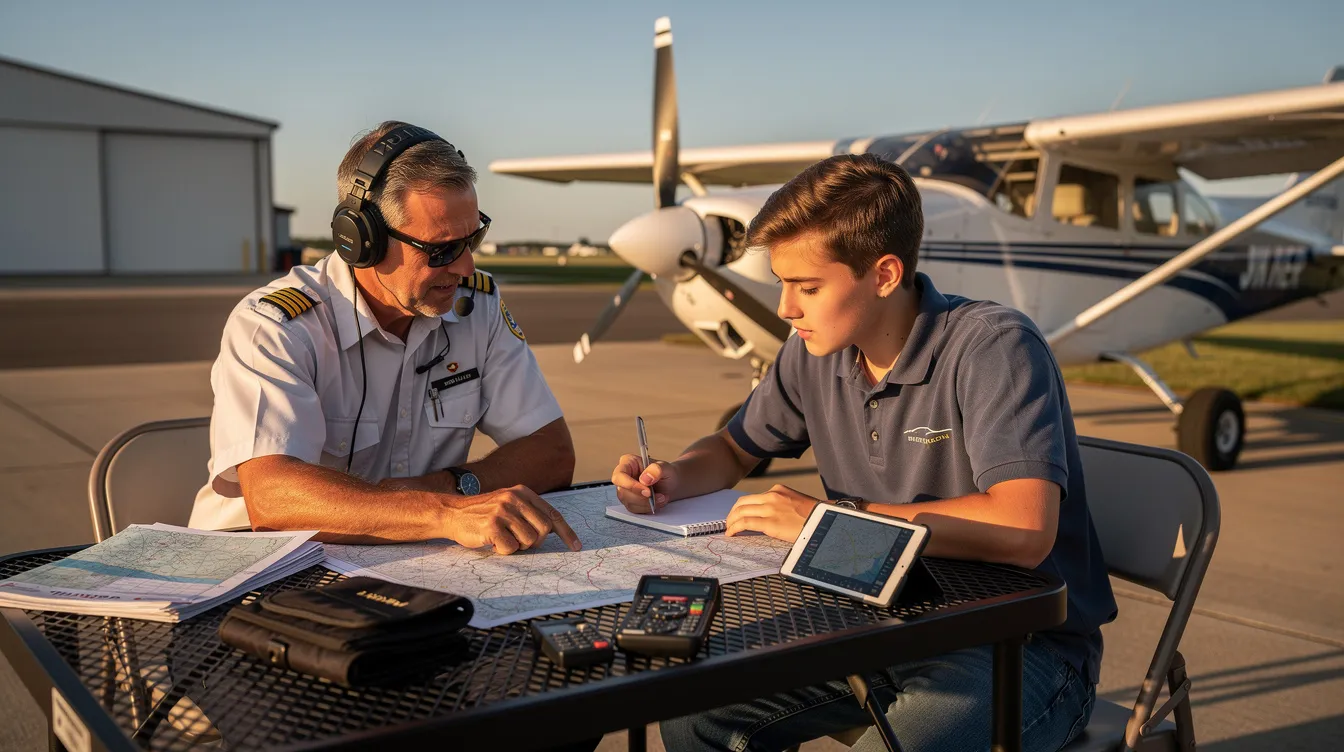
Modern training fleets are increasingly seeing Glass cockpits like the Garmin G1000 or G3X making an appearance, but still many aircraft around have got the traditional analog instruments they've always had. Both have a place in instrument flying and each has its own uses.
To understand the equipment needed for IFR operations in either cockpit type, review our required IFR equipment guide.
-
Glass cockpit benefits: One of the big plus points of a glass cockpit is that you get an integrated moving map display, traffic and weather overlays, and vertical navigation guidance all in one place, plus the ability to see your flight plan, all of which can really help reduce your workload once you get to know the system. You can even couple the autopilot in cruise mode and focus on other things like planning and communication.
-
Risks of glass: People do get complacent with automation and can rely too much on GPS, which is a problem, plus you can get caught out if there's an avionics failure and you dont spot it quickly. And if the primary flight display goes dark, a student who's only ever flown by following the magenta line is going to struggle to know what to do.
-
It's worth practicing operating on a partial panel in both types of cockpits. In a glass cockpit, try simulating losing the primary flight display and see how you fair on just the backup instruments. In an analog airplane, cover up your attitude indicator and heading indicator and try and navigate on a turn coordinator and compass.
-
Even in an aircraft with a glass cockpit, take some time to do approaches with minimal automation, and just use the raw localizer and glideslope. These are the fundamental instrument skills that keep you safe when the technology does fail and you need to fly just on raw data for your checkride.
Life After the Checkride: IFR Proficiency and Real-World Use
Getting that instrument rating is only the first step, its the real start of the journey. All that hard work you put into learning IFR flying improves your weather sense, and your ability to make good decisions in tough situations. But all that good work can quickly fade if you don't keep putting it to use.
-
Keeping your instrument flying currency up is a big deal Once you've got your instrument rating, you need to make sure you keep your skills sharp. The FAA's rules say you've got to have flown six instrument approaches, held for an intercept, tracked a course etc. within the past six months. Fail to do that and you'll need to get back in to see a CFII to take your instrument proficiency check. Currency is the bare minimum that's required to keep your rating - it's not even a good starting point for what you should be aiming to get out of instrument flying.
-
Build yourself some good habits: try to get in at least one IFR practice flight a month, even if the weather is perfect. And don't neglect to get in with a CFII every now and then to keep those skills sharp. A simulator is also a great place to practice emergencies and those weird procedures that you never seem to use in real life.
-
When most new pilots first start flying IFR they tend to stick to some pretty routine stuff just pop up to 1000 or 2000 feet on departure from home, fly an ILS into a big busy airport or shoot a GPS into a smaller field. But with an instrument rating, you suddenly got more options when the weather turns bad, and that extra skill really does make a big difference when the skies get ugly.
-
Keep on learning: read some stories about the accident reports the NTSB has published, and see if any of those tie in with your own flying habits. And don't be shy about attending an FAA safety seminar or two, and check out those new instrument approaches that are coming on stream. The more you know the safer you'll fly and the better you'll be at making those tough decisions when things get hairy.
Is IFR Training Worth It for You?
Every private pilot eventually asks: is the time, money, and effort of instrument training justified for my flying?
-
If you mostly fly local VFR sightseeing laps at a small country airport on clear weekends, the instrument rating may not be urgent. You can still enjoy safe flight without it.
-
If you travel-visiting family across states, combining a job trip with general aviation, or making cross country flights more reliable-IFR training expands your ability to fly in adverse weather conditions and turns a "maybe" departure into a "yes." Instrument flight rules are crucial for professional pilots needing advanced operational skills, but they benefit recreational travelers just as much.
-
Instrument training does not encourage risk-taking. It provides more safe options when weather or ATC changes the plan. Earning an instrument rating increases a pilot's options in adverse weather rather than pushing you to fly in conditions beyond your or your aircraft's limits.
-
Assess your flying goals today. Talk to a CFII at your local airport, review instrument rating course options in your area, and set a tentative start date. The pilots who complete their instrument rating are the ones who stop waiting for the perfect time and simply begin.
